
Have you ever encountered the error “DNS probe finished Nxdomain ” after installing WordPress on Interserver web hosting and you don’t know how to fix it? Don’t worry, we’re here to get you back on track in a few simple steps!
Why Do We Get This Error?
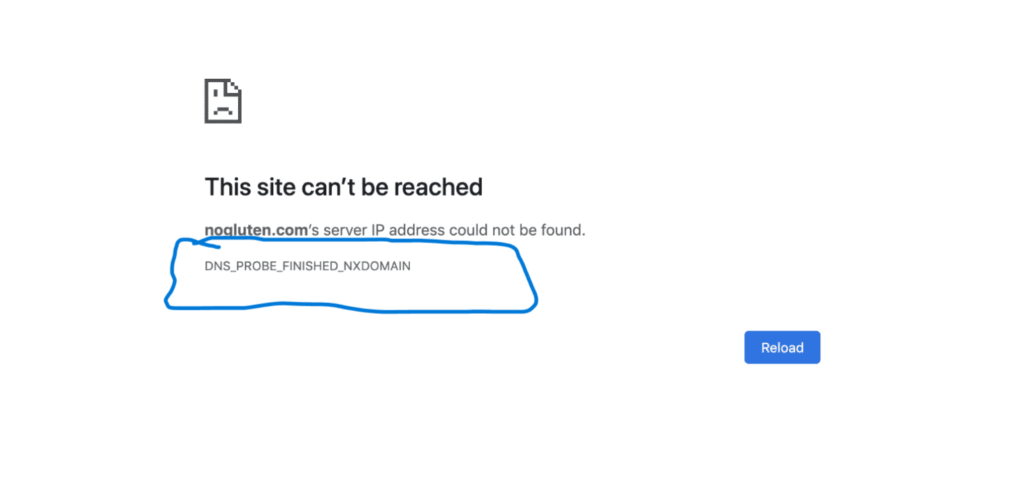
The “DNS probe finished nxdomain” error occurs in web browsers when the Domain Name System (DNS) resolution for a particular domain fails to find the corresponding IP address. Here’s why you might encounter this error:
- Domain Does Not Exist (NXDOMAIN): The error message itself indicates that the DNS query for the domain resulted in an NXDOMAIN response, meaning the domain does not exist.
- Typo or Incorrect Domain Name: If there’s a typo in the domain name or if you entered an incorrect domain, the DNS lookup will fail, leading to the “nxdomain” error.
- DNS Server Issues: If the DNS server you are using is experiencing problems or is misconfigured, it may fail to provide the correct IP address for the domain.
- DNS Cache Issues: Cached DNS records on your computer or local network may be outdated or corrupted, leading to the failure of DNS resolution.
To troubleshoot this error, try the following:
- Check for Typos: Verify that you entered the correct domain name.
- Use a Different DNS Server: Switch to a different DNS server, such as Google’s (8.8.8.8) or Cloudflare’s (1.1.1.1), to see if the issue persists.
- Clear DNS Cache: Flush the DNS cache on your computer to ensure you’re not using outdated or incorrect information.
- Check Domain Availability: Ensure that the domain you’re trying to access actually exists and hasn’t expired.
So, without wasting more time Let’s fix that together!
How To Fix It:
let’s start the video by logging in to your InterServer control panel.
- The first step is to Locate the Domain Manager section.
- The second step is to find the domain you’re having trouble with.
- Third click on ‘Manage DNS.

Now, these are the default Interserver nameservers. We have to change it with the web hosting nameservers.
Read More about Interserver Web Hosting by clicking here.
How To Get The Nameservers?
You can get the new nameservers in three simple steps. These steps are given below:
First Option:
The first and the easiest one is to copy the nameservers below and change the default nameservers.
Copy
ns1: vda.free.net
ns2: vda.free.net
Change the default “cdns” nameservers with the above nameservers. leave the ns3 blank.
cdns1.interserver.net
cdns2.interserver.net
cdns3.interserver.net
Now, next delete your web browser caches. Once you change the default Interserver nameservers wait for DNS to propagate all over the internet.
Second Option:
The second option is that Interserver actually sent it to you in your email while you purchased any subscription with them. Simply, check your inbox and search for Interserver emails. search for control panel details that Interserver has sent you. Once you get the nameservers copy the nameservers and change the default nameservers with it.
Change the default “cdns” nameservers:
cdns1.interserver.net
cdns2.interserver.net
cdns3.interserver.net
After this delete your web browser caches.
DNS Propagation:
The next part is DNS propagation Time. DNS propagation can take up to 12-24 hours to fully propagate. Once, the DNS is fully propagated, your website will be accessible. Problem solve.
If you want to try Interserver web hosting you can go into the description and get my exclusive link for a full 65% off on InterServer Web Hosting plans!
How To Check DNS Propagation:
DNS (Domain Name System) resolution can be checked using various tools. Command-line utilities like ‘nslookup’ or ‘dig’ allow querying DNS servers for specific domain information, such as IP addresses. Online tools like DNS Lookup, MxToolBox or DNS Checker provide user-friendly interfaces to perform similar queries.
Additionally, ‘nslookup’ can be executed interactively, enabling users to explore DNS hierarchy and troubleshoot potential issues. These tools help verify DNS configurations, diagnose resolution problems, and ensure accurate domain-to-IP mappings, essential for seamless internet connectivity and proper functioning of web services.
Moreover, regular DNS checks are crucial for maintaining a reliable and secure online presence.
Did this article help you fix the DNS error? Give us a thumbs up and subscribe for more WordPress troubleshooting tips! And if you have any questions, leave a comment below.
Add a Comment